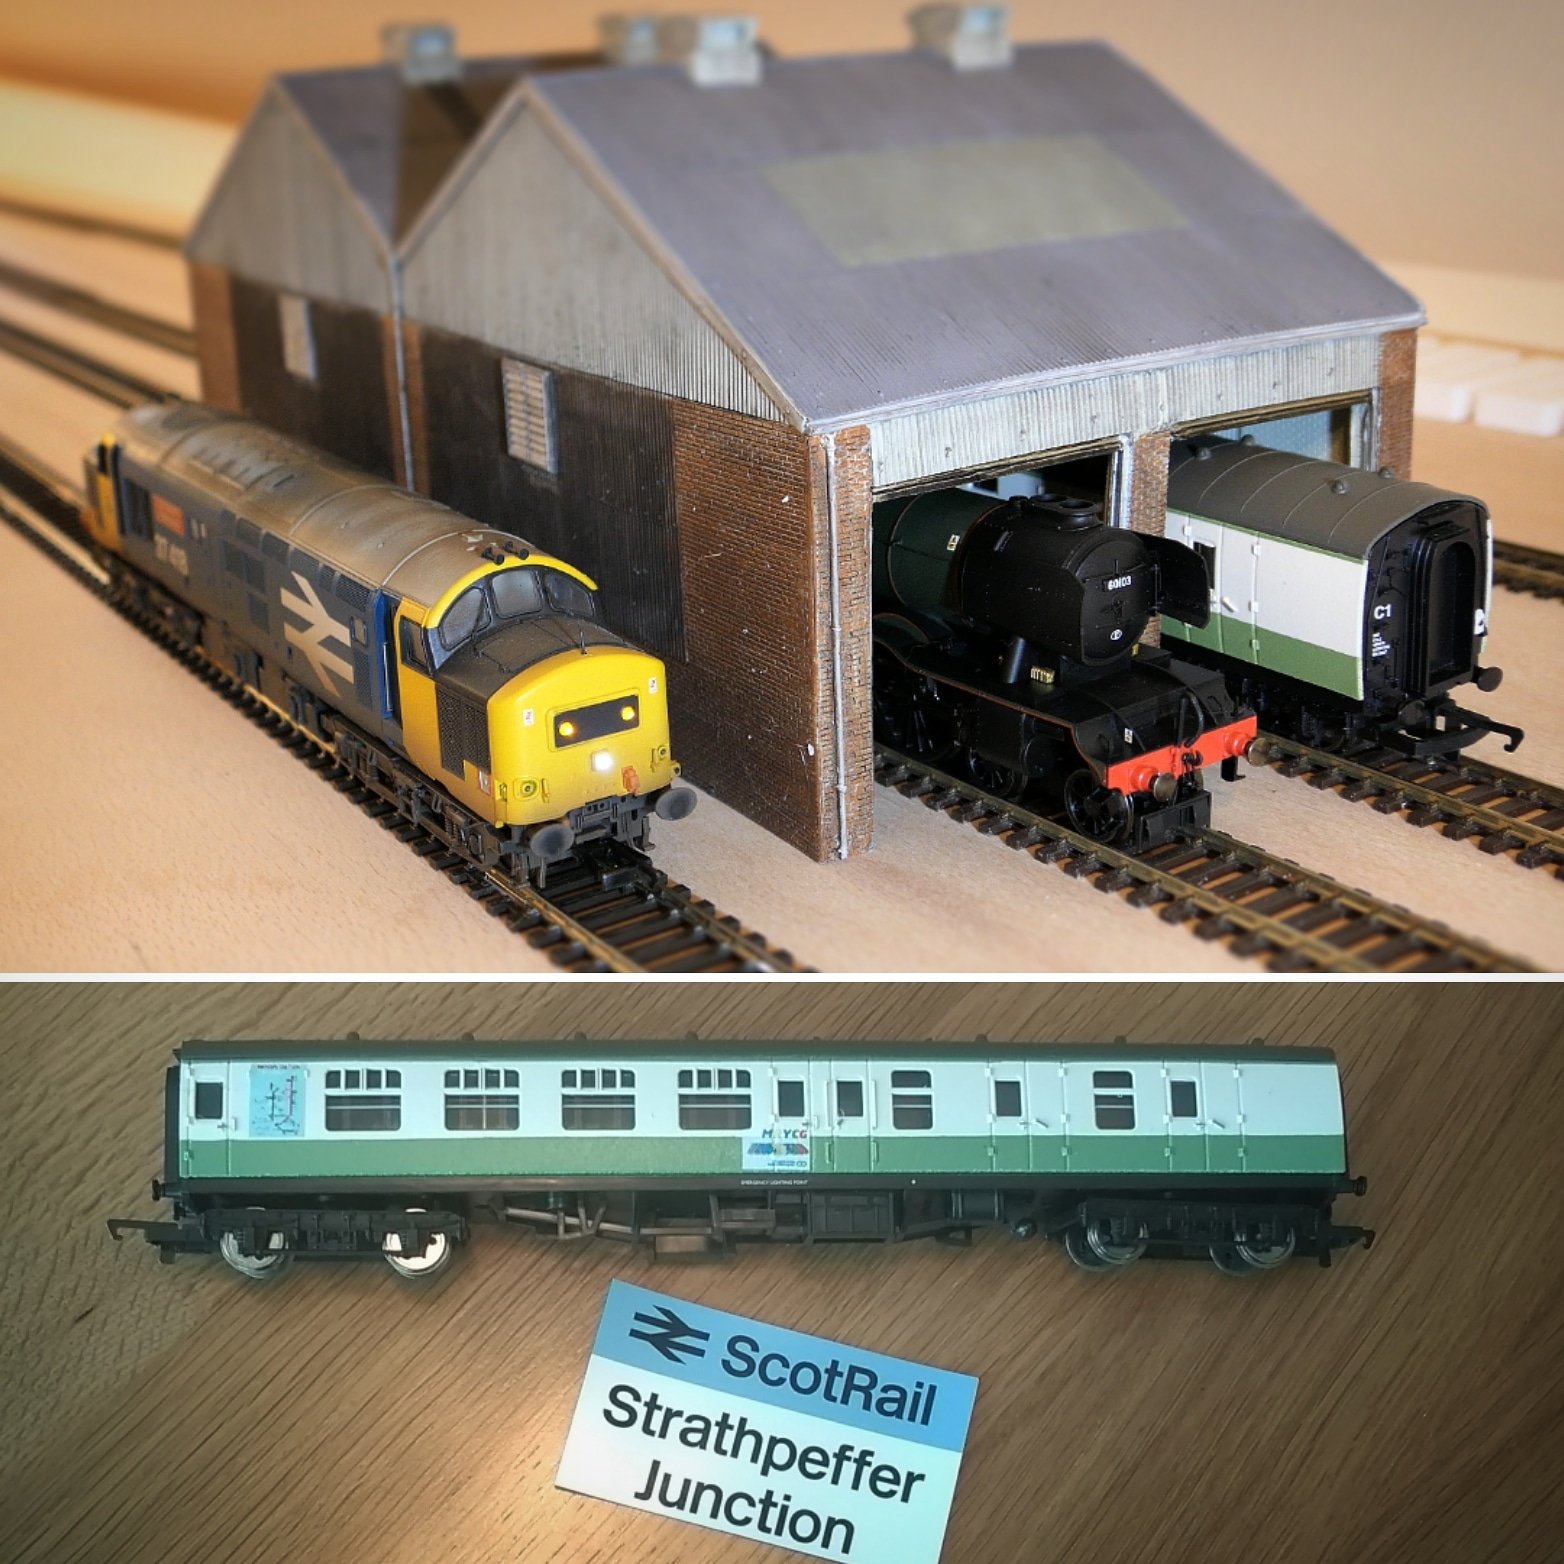
We were delighted for Strathpeffer Junction to be one of the first stops on the tour and the coach spent a week here, undergoing a little work at Fodderty TMD and having a quick run on the emerging layout. We’ve lots of footage to get through and edit down into a video, but we also took some photos too…
The coach has now headed off down the Highland Mainline, hauled by Class 37 An Comunn Gàidhealach, in the direction of Kirkton Road Junction in the Kingdom of Fife, Scotland.
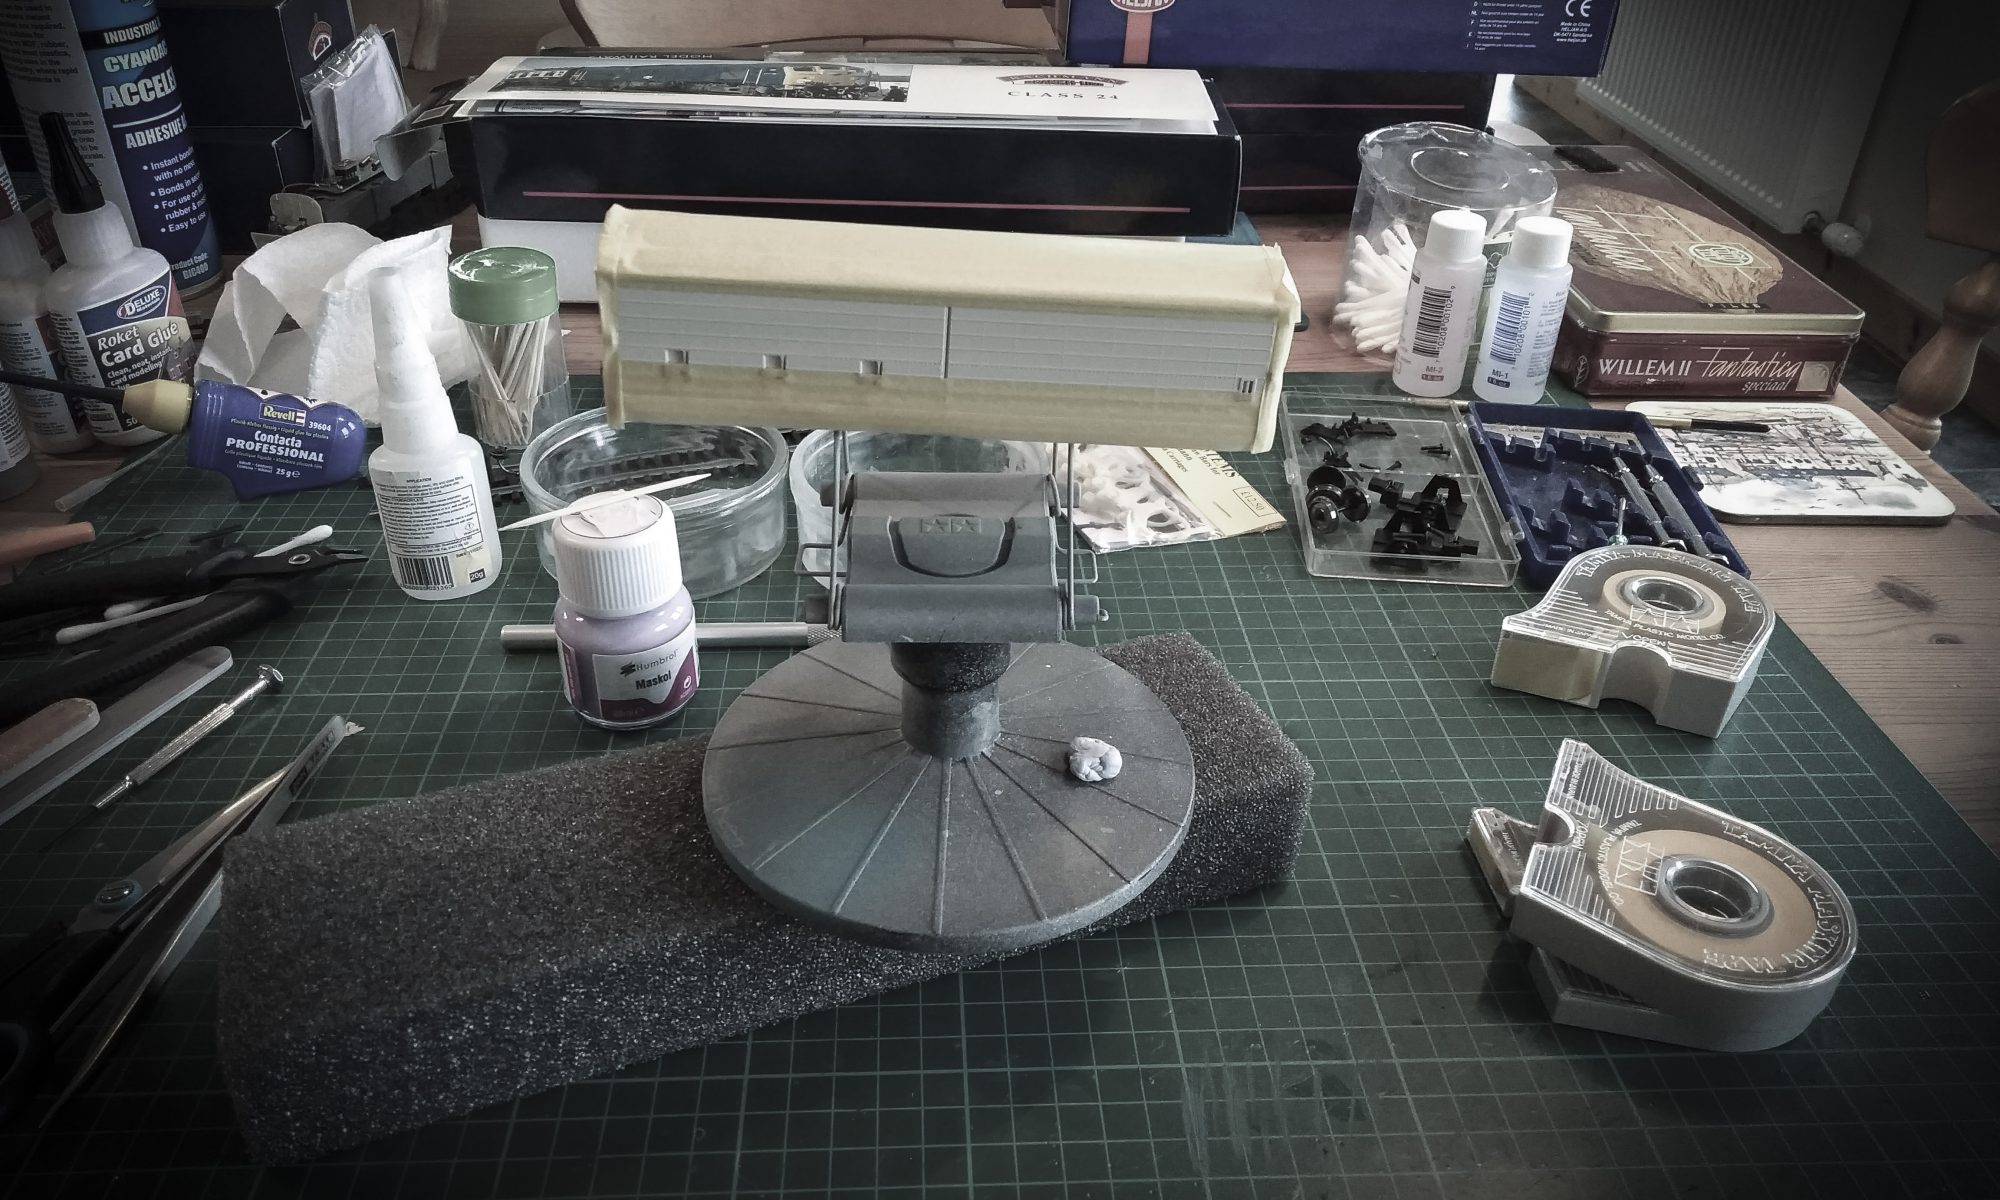
Whilst we crunch through a mound of unedited video filmed during June 2018, we thought we’d put out a short tutorial outlining one approach for making a custom 21-pin to 8-pin harness to enable the use of a 21-pin decoder in an 8-pin locomotive chassis.
The adaptor is simple to make and works well, but by its very nature, an 8-pin plug will not enable all functions of a 21-pin decoder to be used. This is unlikely to be an issue in most cases, as 8-pin chassis locos tend to have few built-in functions.
If used with a sound decoder, separate wires will need to be soldered to the adaptor for the speaker connections; the schematic below shows the relevant solder pads. Alternatively, in some cases, speaker wires can be soldered directly to the chip.
Download a free PDF file of the wiring diagram here:
In this video, we take a look at an alternative method for replacing the ringfield/pancake motor in older Lima and Hornby models with a brand new CD/DVD drive motor.
We’ve used glue and brass tube in earlier projects to support the new motor, and while it works well, it can be a fiddly process, it takes time and can be hard to reverse.
Using a computer-designed and 3D-printed adaptor, you can quickly and simply install and perfectly align a replacement DC motor.
If you ever needed to replace a component, or indeed wanted to reinstall the original ringfield motor, it’s entirely possible to do so. This is a non-invasive alternative!
This is a detailed, step-by-step video and you’ll probably want a cup of tea or coffee and a comfy chair. The methods used in this video are not necessarily the only way to do it, nor necessarily the best.
Some things to consider
The 10mm CD/DVD drive motor should work in most Lima models locomotives of the following OO gauge classes: 08, 09, 31, 37, 40, 47, 52, 59, 60, 66 and 92. Other models may be able to accommodate a 12mm motor, but you must check dimensions yourself first and the 3D printed part would have to be altered accordingly.
The replacement motor is a 12000rpm, 6V, 0.03A DC motor. The output from a DCC decoder or a DC controller can reach 12V DC (sometimes a little higher) at the top end. In order to avoid motor burn-out and prolong motor life:
1. Diodes should be used to reduce voltage (as shown in the video),
2. DCC decoders should have their CV5 value reduced (if available), and
3. Top speeds should be kept to a minimum and run at higher speeds for short periods only.
The PLA+ plastic filament used in the production of the adaptor has a glass transition temperature of 50°-60°C (the point at which it may begin to soften). Our trials showed the motor got up to about 47.6°C after an hour of constant running at medium-to-fast speeds.
Under normal ‘home’ use, it’s unlikely that the plastic will be adversely affected by motor temperature, however if the motor is used for very long periods or worked hard with a long rake etc., its temperature may begin to exceed the glass transition temperature of the plastic and it may begin to soften.
Please note: I’ve drawn upon ideas and suggestions from a range of sources, as well as implementing my own. If you choose to follow any of the steps outlined in this article or video, you do so at your own risk and any damage to yourself, your models or your equipment is your own responsibility.


You must be logged in to post a comment.